Selectronic Inverters Wi-Fi Reconnect
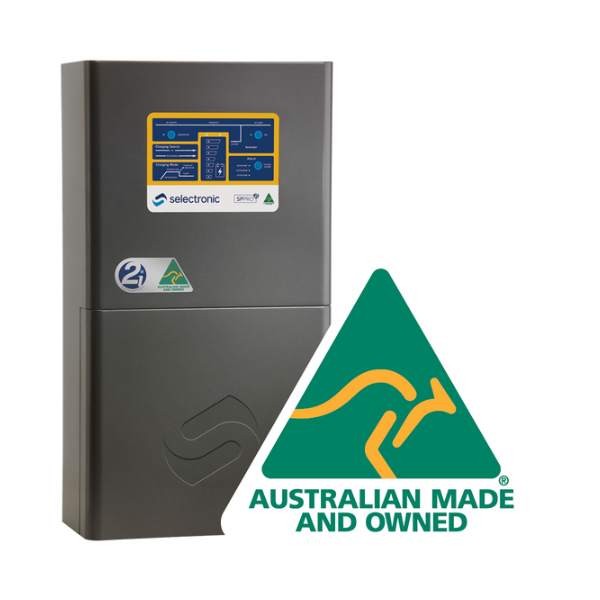
Selectronic SP PRO Series
(For all SP PRO inverters with Select.live monitoring unit)
1. Check your WiFi signal strength
Stand near your Selectronic inverter with your phone and confirm your home WiFi network is visible.
If you can’t see your WiFi network near the inverter, install a WiFi extender or use a LAN cable.
Without a detectable signal, the inverter cannot connect to the internet.
2. Power on the SP PRO inverter
Ensure your SP PRO inverter is turned ON — this supplies power to the Select.live unit.
After a minute or so, the Select.live screen should light up and display a message such as:
Connect to Wi-Fi SSID: selectronic
Browse to: http://192.168.1.1 to setup
3. Connect your phone or computer to Select.live
Open your device’s WiFi settings.
Connect to the network selectronic (no password required).
Wait until the connection is confirmed.
4. Open the Select.live setup page
Open a web browser (Chrome or Safari recommended).
In the address bar, type http://192.168.1.1 and press Enter.
The Select.live setup page will open.
5. Run the Setup Wizard
Click Setup Wizard.
The wizard will automatically detect your SP PRO inverter.
When prompted, choose WiFi as the connection method and click Next.
Enter your home WiFi network name (SSID) and password.
Click Next to complete the setup.
6. Verify connection status
After about 30 seconds, the Select.live display will show a new screen with:
- Device ID
- Serial Number
- Cloud: OK (once internet connection is established)
Your Select.live is now connected to the internet.
7. Troubleshooting tips
No “selectronic” WiFi appears: Ensure the SP PRO is powered ON and check the Select.live display.
Forgot WiFi settings: Hold the Reset button on the Select.live for 10 seconds to factory-reset, then repeat Steps 3–6.
Cloud shows “ERROR” or “No LAN”: Re-run the Setup Wizard and confirm your WiFi or Ethernet connection details.
No Device ID or Serial showing: Wait 30 seconds after setup — they will appear automatically.